• Appetizers,  Food Lovers,  Garden Lovers,  Tips

    Perfect Pickles

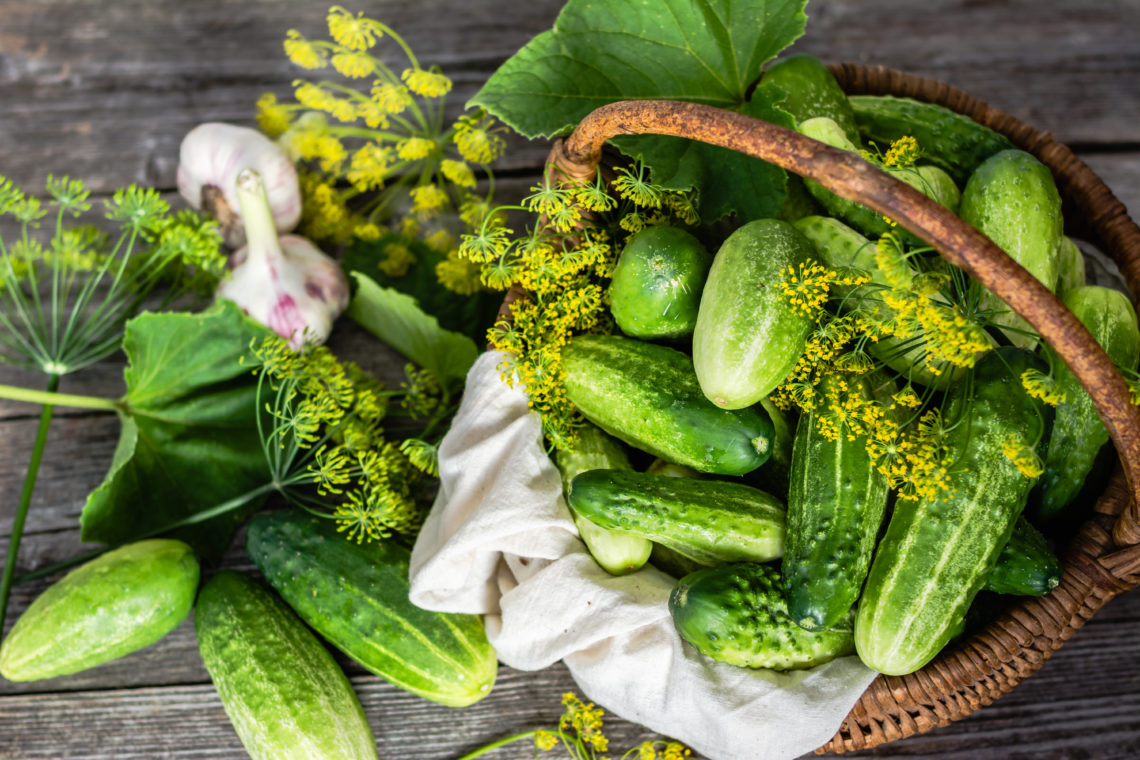
    Each season, I’m never quite sure if my cucumber crop will cooperate. I’ve tried them in several locations around my garden but this year I spread them out and put them in 2 separate areas; wow…were they happy! They produced so fast, in fact, that it was difficult to keep up with the harvesting so I was in desperate need of a really good pickle recipe! Now, I’ve tried cooked, no-cook, vinegar, no vinegar, long term fermentation, and fast refrigerator pickles, you name it, I’ve tried it. But time after time I was disappointed with the results. Until now…

    The secret is in the brine. By cooling the brine, the pickles stay crisp and maintain their texture for significantly longer than using a hot liquid. I’ve found that cooking the cucumbers or adding warm or hot brine over them will reduce the crunch.

    Let me know how yours turn out!

    Chat Soon…

    Ingredients:

    Tons of garlic and dill in these jars!
    • 1 cup distilled white vinegar
    • 2 cups hot water
    • 1/4 cup sugar
    • 4 teaspoons kosher salt
    • 1 teaspoon mustard seeds
    • 1 teaspoon coriander seeds
    • 3/4 teaspoon dill seeds
    • 1-2 teaspoons crushed red pepper flakes (optional to taste)*
    • 3/4 cup fresh dill, coarsely chopped
    • 6 garlic cloves, smashed and coarsely chopped*
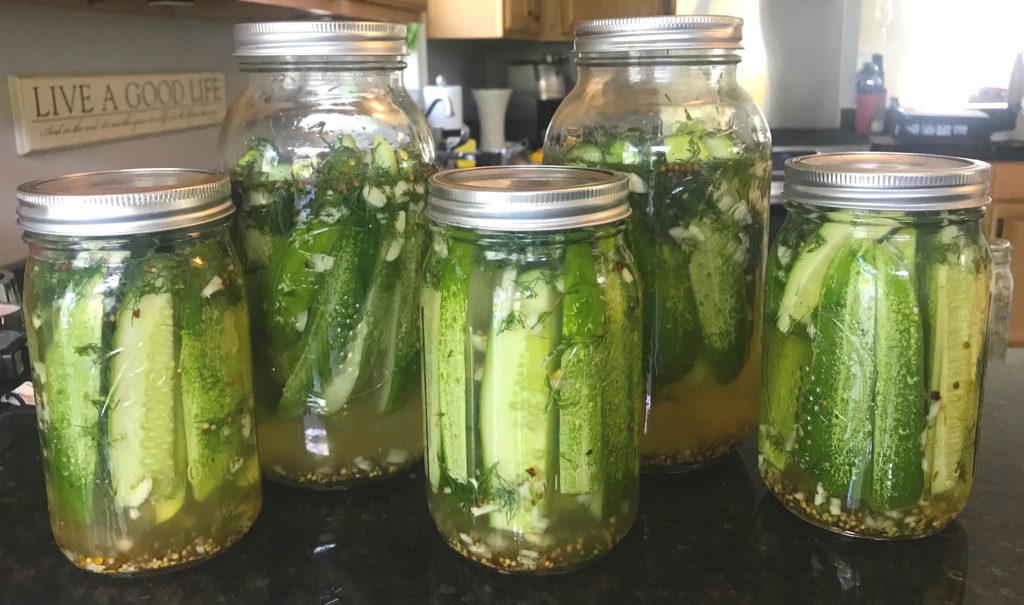
    • 2 lbs. kirby cucumbers, cut in spears

    Directions:

    1. Create a brine by combining the vinegar, hot water, sugar, salt, mustard seeds, coriander seeds, dill seeds, and crushed red pepper (if using) in a large heatproof measuring cup. The water should be hot, not boiling.
    2. Stir until the sugar and salt are dissolved. Let the brine cool.*
    3. Meanwhile, add the dill and garlic to a 1/2 gallon sized mason jar.*
    4. Cut the cucumbers in spears and place them in the jars on top of the garlic and dill.
    5. Once the brine is cool, pour it over the cucumbers being sure to get all of the fabulous spices in there as well and seal the jars tightly.
    6. Turn the jars over and back a few times to get the garlic, dill, and spices incorporated around the spears.
    7. Chill in the refrigerator for several days or at least overnight.*

    * Tips for making a perfect batch:

    • We like a little kick so I typically stay with 1-2 teaspoons but if you prefer a bit more heat, increase by 1/2 teaspoon increments to taste.
    • My family happens to love garlic so I’m a bit liberal with the amount. Reduce or add the number of cloves to your taste.
    • Brine can be cooled in the refrigerator, stirring occasionally to speed up the cooling time. The brine does not need to be cold, but at least chilled to room temperature is best.
    • If using smaller, quart-sized jars, simply divide the dill and garlic among two jars.
    • Pickles will hold and stay crisp in the refrigerator for up to 3 or 4 months.

    Did you make this recipe? Tag @simplysteeyn on Instagram

  • Garden Lovers,  Growing Veggies,  Perennial Garden

    Beauty and the Bees

    There are a lot of things to try to keep out of a backyard vegetable garden; squirrels, rabbits, groundhogs to name a few. These less than welcome critters seem to come out in force once my spring plantings begin to flourish. Suffice it to say I’ve had more than my share of torn up, devoured crops and the frustration that goes along with the appearance of those, shall we say, “uninvited guests”. There is, however, a beautiful element that you absolutely want to bring in to your garden…Bee Balm.

    What is Bee Balm?

    The official name is Monarda didyma and it’s a perennial plant, meaning the plants will establish a deep root system during the initial year of growth and then regrow each Spring season. Bee Balm is also a member of the mint family. Although the height of bee balm is rather predictable, the plants will continue to spread and increase in volume over the years so be sure to plan accordingly when deciding its location in your garden. Bee Balm comes in many colors, such as, red, pink, lilac, white, purple & mauve and it grows anywhere from 1-4 feet tall.

    Bee Balm is technically categorized as an herb and both the flowers and leaves are edible. (Can’t say I’ve ever tried eating them but hey…maybe next year).

    Why You Want it in Your Garden

    Bee Balm is a magnet for pollinators and pollinators are essential to a healthy garden. After all, many of the veggies we love growing require cross-pollination; zucchini, squash, cucumbers, eggplant, and peppers just to name a few. Now, although the sight of bumblebees often scatters my family to the far corners of the yard, they are fabulous pollinators and essential for a plentiful garden. And, you guessed it, bee balm appears to be one of their favorites! This season we had an uncountable number of bumbles on these plants; all day, every day. As crazy as it may sound, they almost seemed friendly and didn’t mind us being there at all. The best part was that my cucumbers were amazing this year! Check out the food lovers tab for my Perfect Pickles recipe!

    How to Grow It

    Indoors:

    Bee Balm plants can be cultivated by starting seeds indoors. I have to admit, I haven’t had much success with starting plants this way, they usually do great in the starter pots but not so great when it comes time to transplant. But don’t let my missteps stop you from giving it a try! A word of advice…be sure that the weather is warm enough and any danger of frost has passed before you transfer the plants to your garden.😏

    Now, as you can see, these are really teeny, tiny seeds, I mean super tiny, so use about 4 or 5 per pot and begin the planting process about 6 to 8 weeks prior to the last frost. Sow the seeds in peat pots to prevent root shock when transplanting later on. (Peat pots if you don’t know, are made from organic peat moss so you can transplant the entire pot into the ground and the plant’s roots will shoot right through them and the pots will eventually break down). The seeds need direct light to germinate properly so resist the urge to bury them. Using a rich & fertile potting mix, (I typically still add some vermiculite to the mix to lighten it up), just barely cover the seeds and water them daily by misting with a spray bottle.

    Teeny tiny bee balm seeds.
    Outdoors:

    I happen to prefer simply tossing some seeds onto the surface of the soil when temperatures are above 70°F. The seeds will do best in well-drained soil that’s fertile & rich in organic matter. But, truth be told, I was given some seeds as a gift and didn’t really know what they were good for at the time. I tossed some seeds in one of my raised beds outside of my garden and forgot about them. When the plants began to grow the following year I thought they were weeds until they reached close to 4 ft. tall and started blooming. That’s when I began researching the vibrant flowers and realized they were the bee balm I had spread the year before!

    Moral of the story, don’t be discouraged if you don’t have a perfect field of bee balm the first season. Find some prime real estate in and around your garden and rest assured, it will arrive in good time and bring with it an overabundance of pollinators that are sure to help your garden thrive.

    Chat soon…

    This was the first year I realized what it was! There were tons more blooms this Summer but I forgot to take a new picture. 🤦🏼‍♀️

    P.S – Remember to come back and let me know how your plants turned out!