• Appetizers,  Food Lovers,  Garden Lovers,  Tips

    Perfect Pickles

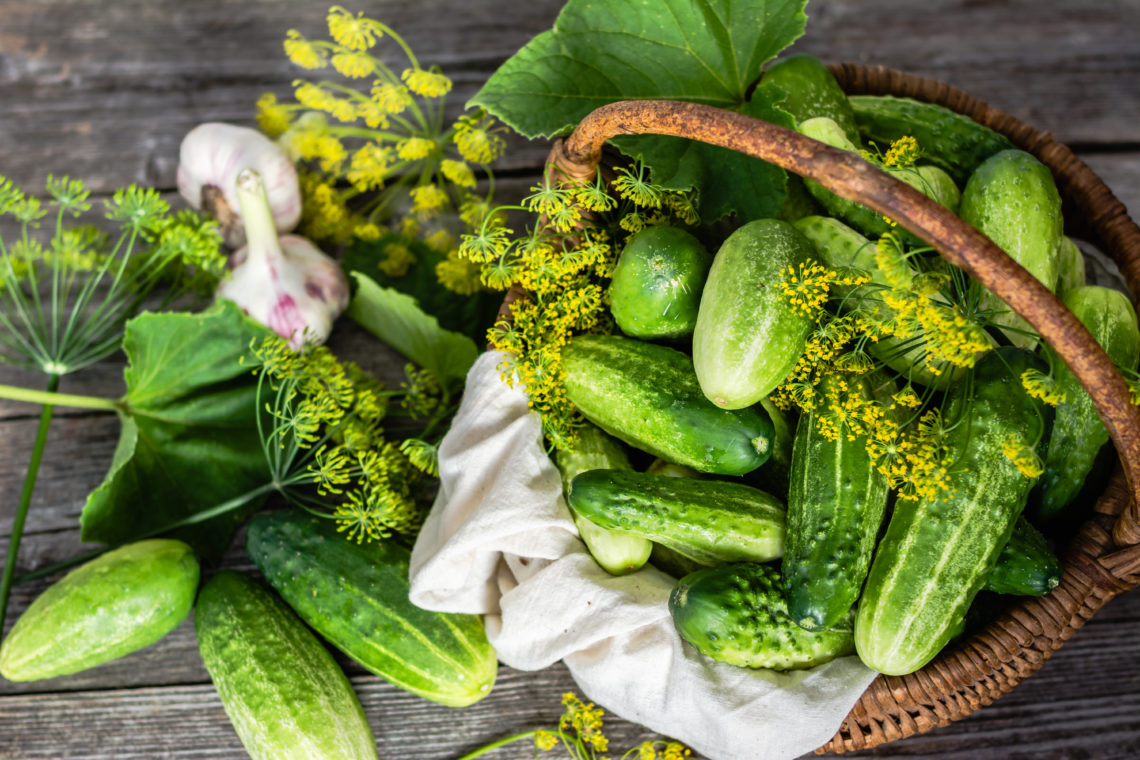
    Each season, I’m never quite sure if my cucumber crop will cooperate. I’ve tried them in several locations around my garden but this year I spread them out and put them in 2 separate areas; wow…were they happy! They produced so fast, in fact, that it was difficult to keep up with the harvesting so I was in desperate need of a really good pickle recipe! Now, I’ve tried cooked, no-cook, vinegar, no vinegar, long term fermentation, and fast refrigerator pickles, you name it, I’ve tried it. But time after time I was disappointed with the results. Until now…

    The secret is in the brine. By cooling the brine, the pickles stay crisp and maintain their texture for significantly longer than using a hot liquid. I’ve found that cooking the cucumbers or adding warm or hot brine over them will reduce the crunch.

    Let me know how yours turn out!

    Chat Soon…

    Ingredients:
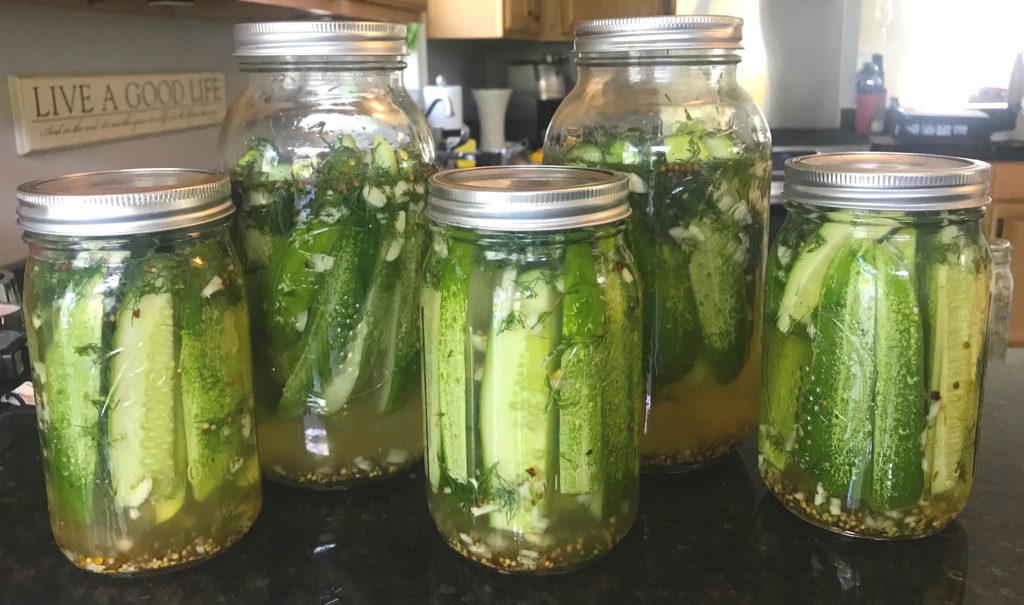
    Tons of garlic and dill in these jars!
    • 1 cup distilled white vinegar
    • 2 cups hot water
    • 1/4 cup sugar
    • 4 teaspoons kosher salt
    • 1 teaspoon mustard seeds
    • 1 teaspoon coriander seeds
    • 3/4 teaspoon dill seeds
    • 1-2 teaspoons crushed red pepper flakes (optional to taste)*
    • 3/4 cup fresh dill, coarsely chopped
    • 6 garlic cloves, smashed and coarsely chopped*
    • 2 lbs. kirby cucumbers, cut in spears

    Directions:

    1. Create a brine by combining the vinegar, hot water, sugar, salt, mustard seeds, coriander seeds, dill seeds, and crushed red pepper (if using) in a large heatproof measuring cup. The water should be hot, not boiling.
    2. Stir until the sugar and salt are dissolved. Let the brine cool.*
    3. Meanwhile, add the dill and garlic to a 1/2 gallon sized mason jar.*
    4. Cut the cucumbers in spears and place them in the jars on top of the garlic and dill.
    5. Once the brine is cool, pour it over the cucumbers being sure to get all of the fabulous spices in there as well and seal the jars tightly.
    6. Turn the jars over and back a few times to get the garlic, dill, and spices incorporated around the spears.
    7. Chill in the refrigerator for several days or at least overnight.*

    * Tips for making a perfect batch:

    • We like a little kick so I typically stay with 1-2 teaspoons but if you prefer a bit more heat, increase by 1/2 teaspoon increments to taste.
    • My family happens to love garlic so I’m a bit liberal with the amount. Reduce or add the number of cloves to your taste.
    • Brine can be cooled in the refrigerator, stirring occasionally to speed up the cooling time. The brine does not need to be cold, but at least chilled to room temperature is best.
    • If using smaller, quart-sized jars, simply divide the dill and garlic among two jars.
    • Pickles will hold and stay crisp in the refrigerator for up to 3 or 4 months.

    Did you make this recipe? Tag @simplysteeyn on Instagram

  • Cookies,  Desserts,  Food Lovers,  Tips

    Chocolate Chip Indulgence

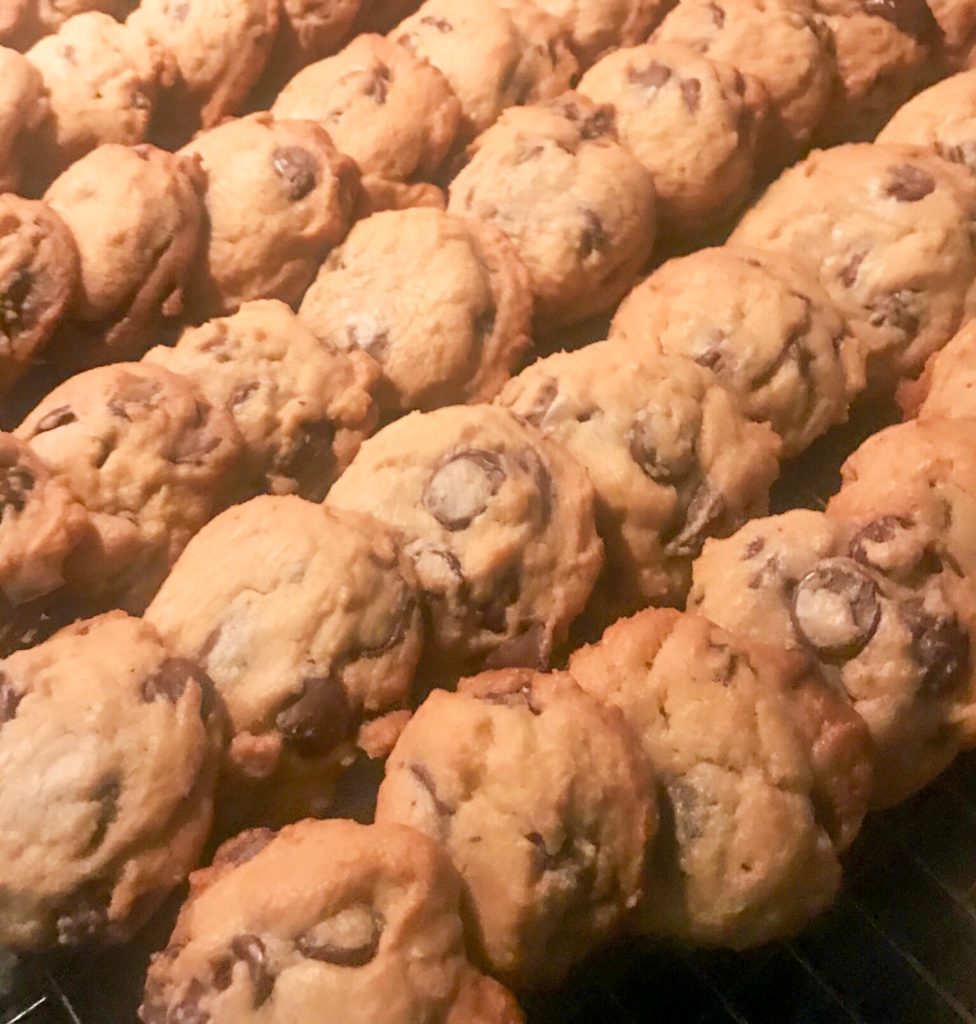
    Who doesn’t swoon over homemade chocolate chip cookies?😍 There are several shortcuts when you’re in a pinch but there’s nothing quite like the aroma of these beauties in the oven. My secret?…the chocolate.

    To amp up the “yum factor” I use bittersweet chocolate. I began baking with bittersweet chips a few years ago because I have family members with food allergies and finding a chip that was both delicious and nut-free was a bit challenging. Of course, always check the labels to be sure they are safe for you and yours but my chips of choice are Ghirardelli Bittersweet, Premium Baking Chips. I’ll admit, they are a bit more costly, but they make all the difference in this recipe. Let me know what you think! 😊

    Chat Soon…

    Ingredients:

    • 3/4 cup granulated white sugar
    • 1 cup light brown sugar
    • 1 cup butter, softened*
    • 1 tablespoon vanilla
    • 2 large eggs, slightly beaten
    • 3 cups all-purpose flour
    • 3/4 teaspoon baking soda
    • 3/4 teaspoon kosher salt
    • 3 cups bittersweet chocolate chips

    Directions:

    1. Preheat oven to 350°
    2. Combine dry ingredients (flour, baking soda, salt) and set aside
    3. Cream sugars and butter
    4. Add vanilla and eggs and mix well on medium speed
    5. On low speed, gradually add dry ingredients to creamed mixture. Once all dry ingredients have been added, increase speed to medium, and blend until combined. Scraping bowl as needed.
    6. Stir in chocolate chips
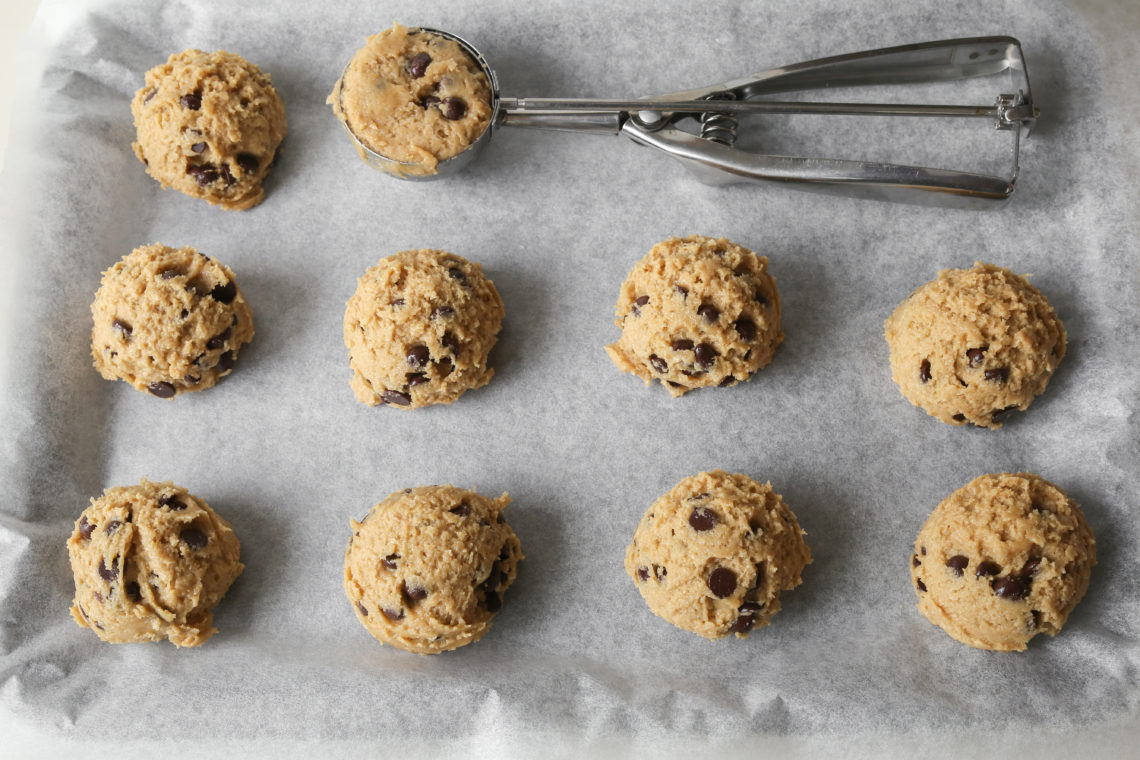
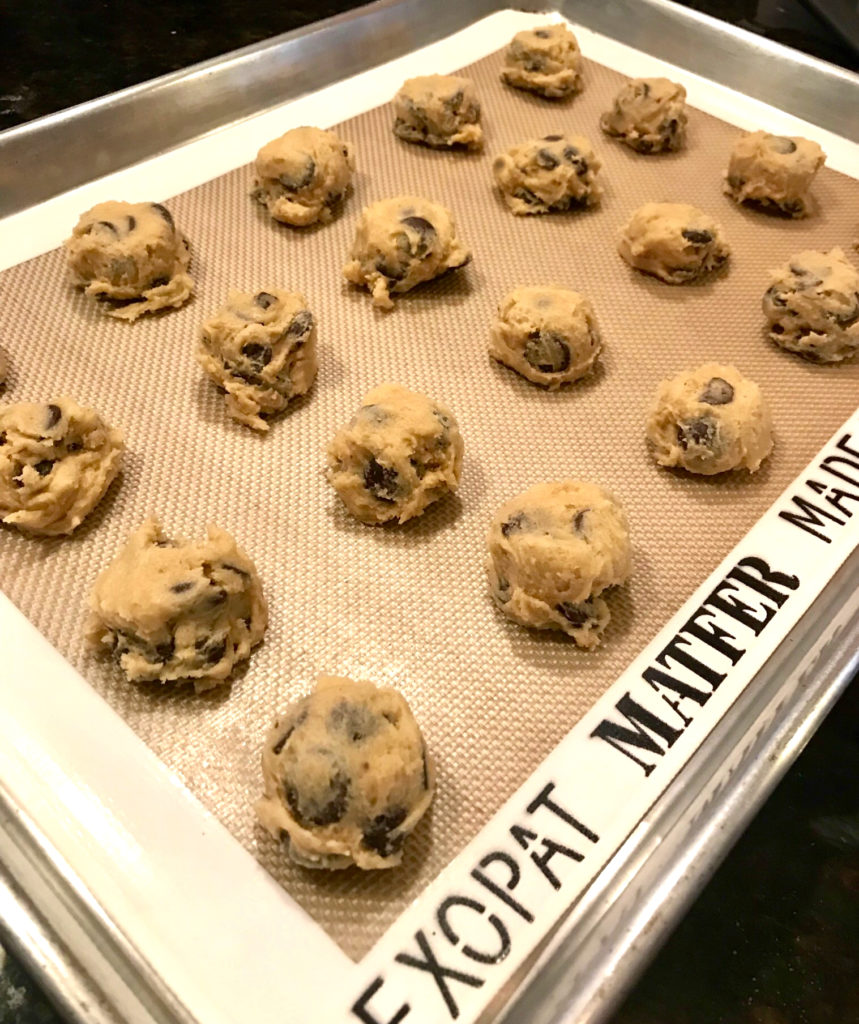
    7. Using a 1 tablespoon cookie scoop, place dough rounds on a baking sheet about 1½” apart.* Slightly flatten the tops.
    8. Bake for 10-12 minutes or until golden (an extra minute or two in the oven will result in a crunchy cookie).
    9. Rest on the baking sheet for 1 minute before transferring to a wire cooling rack.

    * Tips for making a perfect batch!

    • Butter should be softened but not soft. If it’s warm and/or overly soft the cookies will lose their shape in the oven and you will have a tray full of flat, sad-looking specimens. Of course, they will still taste wonderful so, glass half full!😉
    • Store batter in the refrigerator between batches so the dough stays chilled for the same reason listed above.
    • I began using a silicone baking liner on my cookie sheets several years ago and I’ve never looked back. Parchment paper will help keep things tidy but it’s also expensive. Reusable silicone liners are my go-to for cost-conscious and fabulous results.

    Did you make this recipe? Tag @simplysteeyn on Instagram